
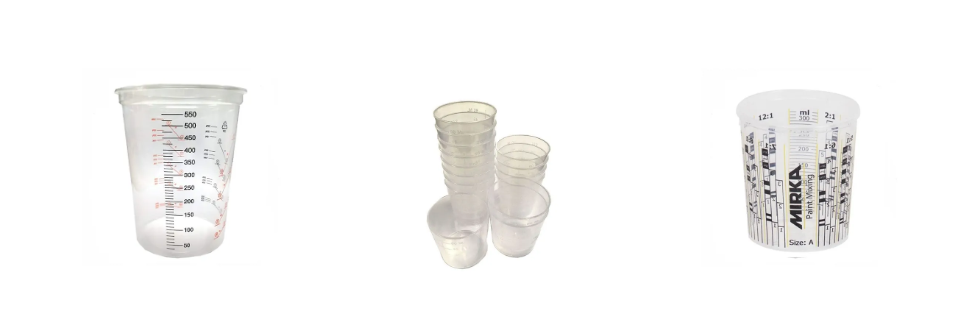
A cold morning in the workshop can turn a straightforward fibreglass repair job into a frustrating ordeal. Resin that poured easily a few weeks ago may feel thicker, take more effort to mix, and leave you waiting longer before the next stage. As autumn shifts to winter, preparing your materials becomes just as important as preparing the repair itself.
Boat maintenance, GRP repairs and fibreglass projects don't always stop when temperatures fall. However, mixing fibreglass resin in cold weather requires more care than simply following your usual routine. The temperature of the resin, the surrounding air and the surface being worked on can all influence the result.
The challenge is achieving accurate mixing and suitable curing conditions without making changes that compromise the resin system. Calibrated mixing cups help you measure suitable quantities, but they must be used alongside the correct product instructions and directions. Polyester resin and epoxy resin have different mixing requirements, so advice for one should never automatically be applied to the other.
With careful preparation, you can make mixing more manageable, reduce avoidable waste and give your repair the conditions it needs to perform properly. Ignoring temperature limits or guessing component quantities can leave material poorly cured and create extra removal and repair work. This Fibreglass Supplies guide explains what to check before you start and how to approach cold-weather fibreglass resin mixing with greater confidence.
There is no single minimum working temperature that applies to every fibreglass resin. Different polyester and epoxy formulations have their own application limits, and a product suitable for cooler conditions may behave differently from your usual resin.
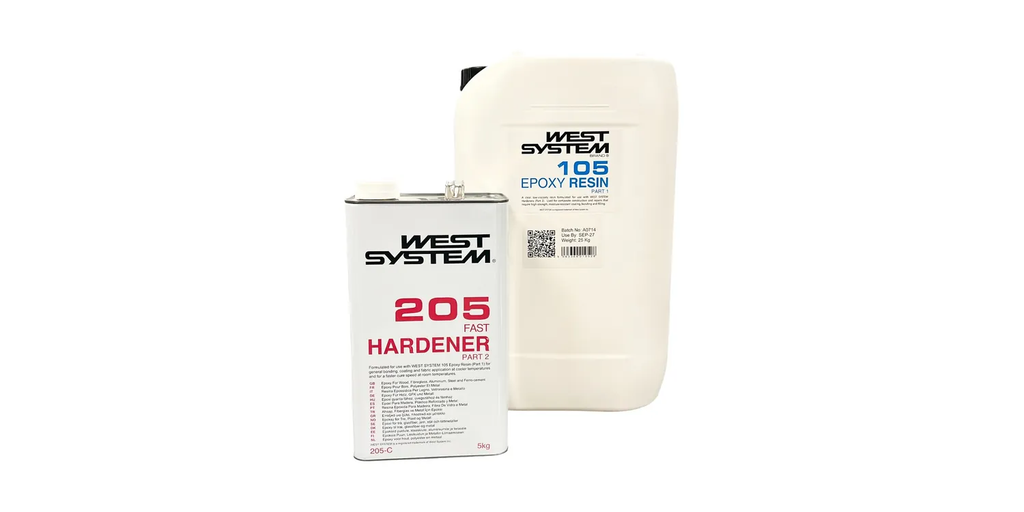
For example, the CrysticROOF Resin technical data sheet recommends that the resin and surrounding air should ideally be at least 15°C before curing, while WEST SYSTEM data identifies its 105 Resin and 205 Fast Hardener combination as suitable for use down to 5°C under its specified conditions.
These are product-specific examples rather than interchangeable rules for all GRP work. Before opening a container, always check the current, relevant and up-to-date technical data sheet and make sure you can maintain the required conditions throughout the relevant curing period.
Cold conditions can make resin harder to handle, particularly with epoxy, which becomes more viscous as its temperature falls. This can make accurate dispensing, thorough blending and wetting out the reinforcement more difficult. Bringing materials to their recommended working temperature before measuring helps improve their handling, but warm resin alone cannot compensate for an unsuitable surface.
A cold or damp substrate still needs attention, and the CrysticROOF Resin instructions specifically require a dry substrate and dry conditions without imminent rain. Plan material conditioning and surface preparation together so that everything is ready before you mix the first batch.
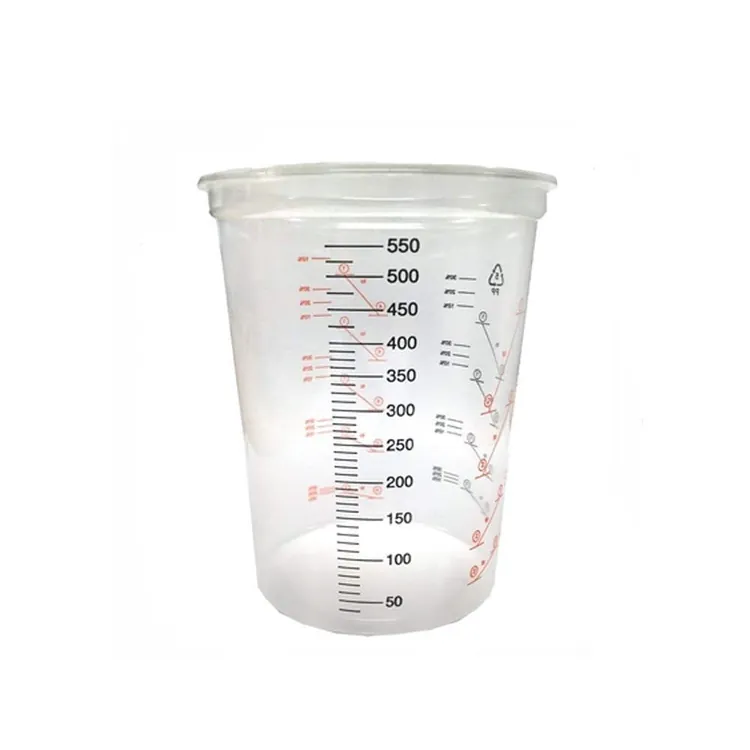
Calibrated mixing cups are useful for measuring resin by volume, but their markings must suit the measurement method specified for your product. A ratio stated by weight must be measured using suitable scales unless the manufacturer provides an approved volume equivalent.
For small additions, such as polyester catalyst, use measuring equipment with sufficiently fine graduations rather than estimating between widely-spaced cup markings. Some polyester systems permit catalyst adjustments within a stated range, but this must come from the instructions for that exact product. Epoxy resin and hardener must remain at their specified ratio, because adding extra hardener to compensate for cold conditions can compromise the cured material.
Accurate quantities are only useful when the components are blended thoroughly throughout the batch. Cold epoxy can cling more readily to containers and mixing tools, increasing the importance of reaching the sides, base and corners of the cup.
Use a suitable stirrer and follow the manufacturer’s mixing instructions, avoiding vigorous whipping that introduces unnecessary air. Keep batches manageable, since curing resin generates heat and material concentrated in a mixing pot can become dangerously hot, even when the surrounding workspace is cool. A cup of resin may also behave differently from the same mixture spread into a thin laminate, so its condition is not a reliable measure of how the repair is curing.
Finishing the application does not mean the cold-weather precautions can stop. Lower temperatures slow curing, and epoxy that becomes hard may still need further curing before it develops its intended properties. Keep the work within the specified temperature range and protect it from moisture for the period required by the resin system.
Treat published curing times as conditional figures, checking the temperatures and test conditions attached to them rather than assuming they apply to a cold workshop. If the material remains unexpectedly soft or appears poorly cured, investigate the conditions and mixing process before covering it with another layer.


