

A thin line of cracked sealant around a deck fitting can be easy to overlook. Once water finds a way through, however, it may reach the fasteners, the cabin below or the material inside a cored deck. Resealing the joint is a sensible repair, but a fresh bead will only perform as well as the surface beneath it.
Removing old marine sealant takes patience - particularly where it has bonded firmly to gelcoat, paint or metal. Cutting and scraping too aggressively can damage the finish, while leaving residue behind can prevent the replacement sealant you intend to use from adhering effectively.
The aim is to expose a sound, clean and dry bonding surface before applying the best and most suitable product to the joint. Taking time to properly inspect the area also gives you a chance to spot loose fittings, damaged coatings or damp material that the sealant alone cannot fix.
In this guide, Fibreglass Supplies explains how to remove cured sealant, deal with remaining residue and prepare your boat for resealing. From checking the joint and removing fittings to preparing the surface and resealing the joint correctly, we also cover when to pause work on a job and investigate a leak more thoroughly before closing the joint again.
First, identify what the joint is doing. A bead around a removable deck fitting may need a different repair approach from a flexible seam between fixed panels - and the materials on either side will affect how you prepare it. Look for gaps, lifting edges, staining, movement and signs that water has travelled beyond the visible bead. If a deck feels soft, a fastener will not tighten securely, or moisture appears beneath the fitting, investigate and repair the underlying problem before undertaking any resealing work.
If water has entered beneath a fitting, replacing only the visible sealant around its edge may leave the leak path untouched. Where the fitting is designed to be removed, taking it off allows you to clear the old bedding material from both mating surfaces and inspect the fastener holes. Work slowly so that bonded parts release without pulling away gelcoat or paint. If a component resists removal, check for hidden fixings and seek advice before applying more force.
Cured marine sealant generally has to be removed mechanically. Begin by cutting away the bulk of the bead, then work on the thinner material left at the edge of the joint. A sharp plastic scraper can be useful on vulnerable finishes, while a suitable blade may offer more control on robust surfaces when used with care. Keep the tool at a shallow angle and make several light passes instead of forcing it beneath the coating.
Sika’s Sikaflex 591 Product Data Sheet states that cured material can only be removed mechanically.
Once the bulk of the sealant is gone, examine the joint in good light. Thin smears, loose paint, wax, grease and old bedding material can all interfere with a new seal. Remove remaining cured residue with a method appropriate to the substrate, then clean the area as directed for the replacement sealant.
Do not assume that a solvent will dissolve cured sealant. Sika describes its Remover-208 Cleaning Agent as a cleaner for uncured Sikaflex residue and suitable surfaces, subject to a compatibility check. Its marine pretreatment chart also advises that surfaces should be clean, dry and free from oil, grease, dust and loose particles.
Choose a marine sealant for the materials, location and type of joint you are repairing. Before opening the cartridge, confirm that the surfaces are dry and that the working temperature is within the manufacturer’s stated range.
Apply a continuous bead where the joint requires it, assemble removable fittings in line with their instructions and remove excess material while it can still be tooled. Moisture-curing sealants need time to develop their properties, so check the product guidance before exposing the repair to service or water.
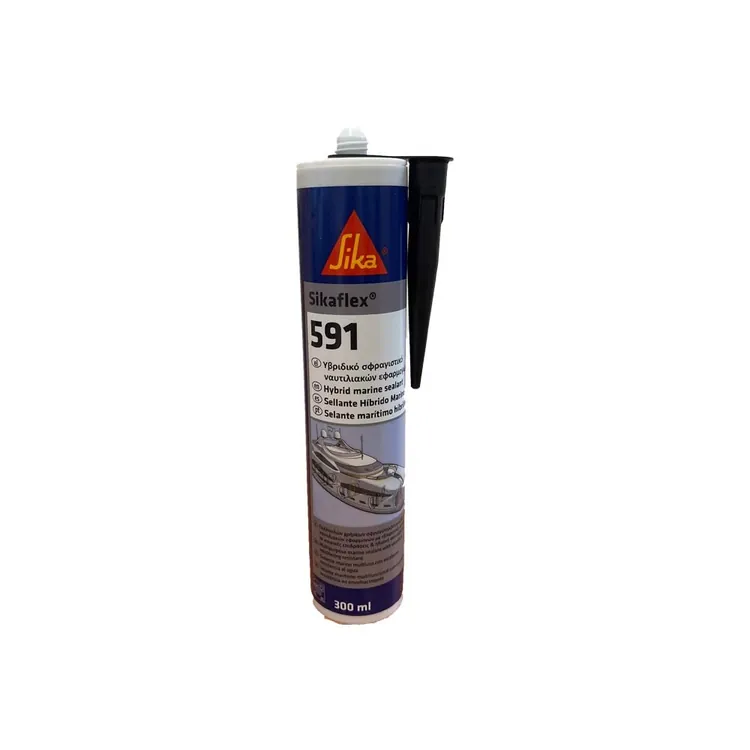
Fibreglass Supplies provides Sikaflex 591 Marine Adhesive Sealant - 300ml in three practical colour options. It is a flexible, moisture-curing sealant intended for a range of interior and exterior marine sealing applications, including suitable joints above and below the waterline.
Choose the colour that suits the surrounding finish, then check the current data sheet for the specific substrates and preparation your repair requires. For specialist work - such as deck caulking or plastic window glazing - select a product specified for that application rather than assuming a multipurpose sealant is automatically suitable.


