Fibreglassing over timber boards or solid substrates is one of the most reliable ways to create a seamless, durable and long-lasting waterproof surface. Whether you are working on a flat roof, balcony, pond or walkway, understanding the correct process is essential to achieving a professional finish that stands up to outdoor exposure. You'll therefore need to know how to fibreglass correctly and effectively over plywood, OSB or concrete to meet the needs of your latest project and create a finished surface that won't let you down.
Whether you're a seasoned fibreglass installer or tackling a new project for the first time, getting the preparation and application right makes the difference between a system that lasts decades and one that fails prematurely. Fibreglass, when correctly installed, offers excellent durability, low maintenance and resistance to water ingress, making it a preferred choice across domestic and commercial projects.
However, poor surface preparation, incorrect material selection or a rushed application process can quickly impact the integrity of a fibreglass system. Issues such as delamination, surface cracking and trapped moisture are common when corners are cut, and they often do not become visible until the installation has already begun to fail. In many cases, moisture becomes sealed beneath the laminate, leading to blistering, soft spots, or even structural deterioration over time.
These problems not only affect the visual finish but also compromise the waterproofing performance of the system. As a result, what should have been a long-lasting solution can turn into a cycle of ongoing maintenance and costly repairs that could have been avoided with proper preparation and care.
In this blog, Fibreglass Supplies have assembled a step-by-step guide tailored to plywood, OSB and concrete surfaces, along with practical advice to help you achieve a strong bond and a flawless finish. Whatever your skill level, following these essential guidelines will help ensure faster fibreglassing, consistent results, and long-term performance.
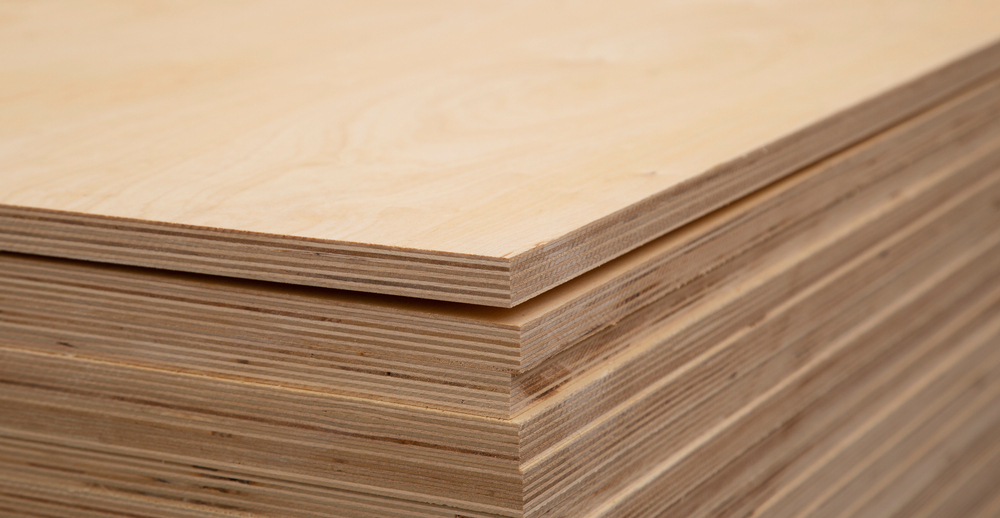
Not all surfaces behave the same when fibreglass is applied, and selecting the right base is critical to the success of your project. Plywood is widely regarded as the best substrate due to its stability and smooth finish, while OSB (Oriented Strand Board) can be used with extra preparation. Concrete, although durable, requires careful priming to ensure proper adhesion.
Each material reacts differently to moisture, temperature and resin absorption. For example, plywood provides consistent absorption, whereas OSB can be more porous and uneven. Concrete introduces challenges such as dust, laitance and potential dampness that must be addressed before application.
Preparation is arguably the most important stage when fibreglassing over timber boards. Even the highest quality resin and matting will fail if the surface is not properly prepared. The aim is to create a clean, dry and stable base that allows the resin to bond effectively.
Plywood and OSB should be securely fixed with appropriate spacing between boards to allow for expansion. All edges and joints must be smooth, and any sharp corners should be rounded off to help the fibreglass mat conform without lifting. Moisture content should be low to prevent future issues.
Concrete requires a different approach due to its density and potential for moisture retention. A properly prepared concrete surface can provide an extremely durable base, but neglecting preparation will lead to adhesion problems.
The surface must be completely clean, free from dust, grease and loose particles. Mechanical preparation such as grinding or shot blasting is often necessary to remove laitance and expose a sound surface. Moisture testing is essential, as trapped damp can cause blistering beneath the fibreglass layer.
Once the substrate is prepared, the fibreglassing process can begin. This involves applying a layer of resin, laying the chopped strand mat and saturating it fully to create a strong composite layer. Timing and technique are crucial to achieving a consistent finish.
Work methodically in manageable sections to avoid the resin curing too quickly. Ensure the matting is properly rolled out to remove air bubbles, as trapped air can weaken the structure. Environmental conditions such as temperature and humidity should also be considered during application.
The final stage is applying a topcoat, which seals the fibreglass and provides UV protection along with the desired finish. This layer not only enhances appearance but also plays a critical role in the longevity of the system.
Topcoats are available in a range of colours and finishes, including anti-slip options for walkways and balconies. A properly applied topcoat will protect against weathering, prevent water ingress and ensure the surface remains easy to maintain.


